
The Honeywell TH5220D1003 installation manual provides step-by-step guidance for installing and configuring the FocusPRO non-programmable digital thermostat, ensuring proper setup and safe operation of your HVAC system․
System Requirements and Compatibility
The Honeywell TH5220D1003 thermostat is compatible with 2-heat/1-cool heat pumps and conventional HVAC systems, requiring 18-22 gauge wiring and adherence to local building codes for safe installation․
Understanding the Thermostat’s Features
The Honeywell TH5220D1003 offers non-programmable digital control with features like manual or auto system settings, emergency heat options, and compatibility with heat pumps․ It provides straightforward functionality for precise temperature control, ensuring efficient heating and cooling․ The thermostat’s interface allows users to navigate through settings easily, with buttons for adjusting temperature and system modes․ Its design supports various HVAC configurations, making it adaptable to different home setups while ensuring reliable performance and energy efficiency․ Proper setup ensures optimal operation and comfort․
Compatibility with Heating and Cooling Systems
The Honeywell TH5220D1003 is designed to work with various heating and cooling systems, including conventional HVAC systems and heat pumps․ It supports configurations such as 2 heat/1 cool for heat pumps, ensuring versatile compatibility․ The thermostat can be configured to match the installed equipment through the Installer Setup menu, allowing for proper system operation․ It also integrates with Honeywell zoning panels for advanced control and supports emergency heat settings when needed․ This flexibility makes it suitable for different home setups and HVAC requirements․
Preparation for Installation
Preparation for installation involves disconnecting the power supply and gathering necessary tools like screwdrivers and wire strippers․ Safety precautions must be followed to avoid electrical hazards․
Safety Precautions and Tools Needed
Before starting, disconnect the power supply to prevent electrical shock․ Use insulated tools and ensure the system is de-energized․ Required tools include screwdrivers, wire strippers, and pliers․ Follow local building codes and manufacturer guidelines to ensure safe installation․ Proper safety measures protect both the installer and the equipment from potential damage․ Always refer to the manual for specific safety instructions and tool recommendations for the Honeywell TH5220D1003 thermostat installation․
Disconnecting Power Supply
Disconnecting the power supply is crucial before starting the installation to prevent electrical shock or damage․ Switch off the HVAC system at the circuit breaker or fuse box․ Verify the power is off using a voltage tester․ Ensure the system is fully de-energized before proceeding with any wiring connections․ This step is essential for safe installation and should never be overlooked․ Always follow the manual’s instructions for proper power disconnection procedures․
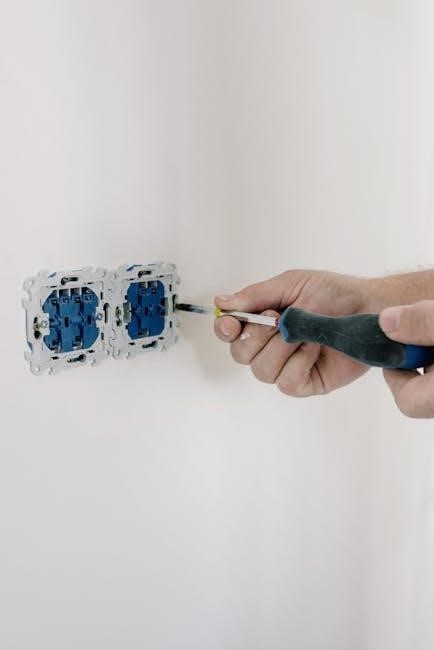
Wiring Diagrams and Connections
Consult the wiring diagrams in the manual to ensure proper connections․ Use 18-22 gauge thermostat wire, following local codes․ Verify all connections match your HVAC system specifications for safe and correct installation․
Understanding the Wiring Specifications
The Honeywell TH5220D1003 requires specific wiring configurations to ensure proper functionality․ Use 18-22 gauge thermostat wire, and ensure all connections comply with local building codes․ The thermostat supports standard wiring setups, including R, W, Y, G, C, and O terminals․ Verify the wiring diagram in the manual to match your HVAC system type, such as heat pumps or conventional systems․ Proper wiring is critical for safe operation and to avoid damage to the thermostat or HVAC equipment․ Always disconnect power before making any wiring connections to prevent electrical shock or damage․
Connecting the Thermostat to the HVAC System
Connect the Honeywell TH5220D1003 thermostat to your HVAC system by matching the wiring to the appropriate terminals (R, W, Y, G, C, O, etc․)․ Ensure the wiring corresponds to your system type, such as a heat pump or conventional setup․ Refer to the wiring diagram in the manual for specific configurations․ Use 18-22 gauge thermostat wire for reliable connections․ After wiring, verify all settings in the Installer Setup to ensure proper system operation․ Always disconnect power before making any wiring connections to prevent damage or electrical shock․
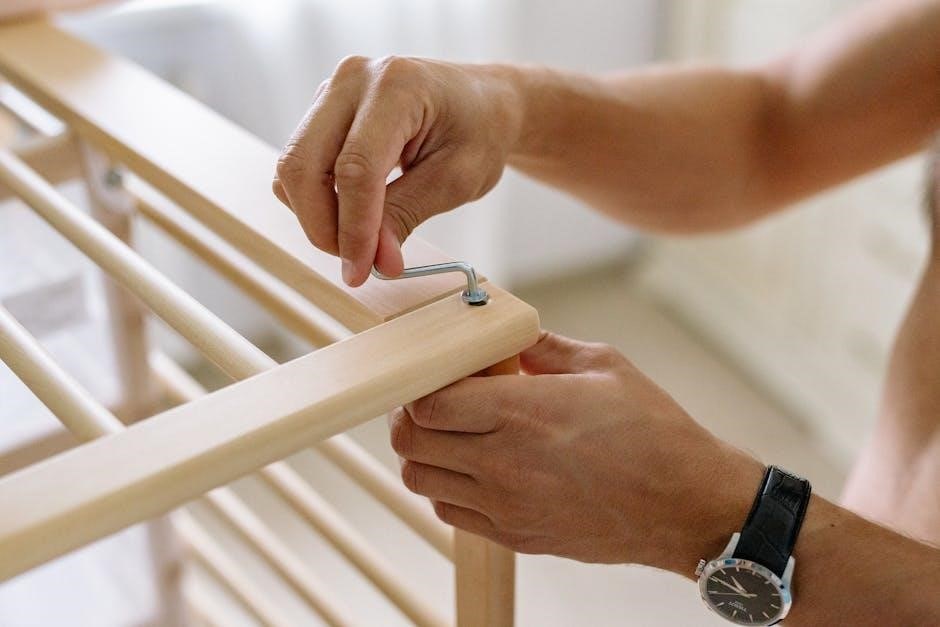
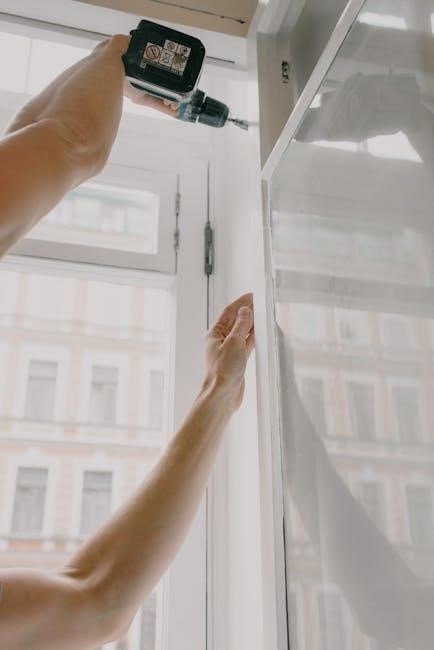
Mounting the Thermostat
Mount the Honeywell TH5220D1003 by first removing the wallplate from the thermostat․ Use the provided template to ensure proper alignment and level installation on the wall․
Removing the Old Thermostat
Before installing the Honeywell TH5220D1003, disconnect the power supply to the HVAC system to avoid electrical shock․ Carefully remove the existing thermostat from the wallplate by gently pulling it away․ If the old thermostat is wired, disconnect the wires from the terminals, taking note of their positions for later reference․ Remove any adhesive or screws holding the old wallplate in place․ Ensure the area is clean and free of debris before proceeding with the new installation․ Handle wires carefully to prevent damage․
Installing the Wallplate
Begin by removing the wallplate from the Honeywell TH5220D1003 thermostat․ Ensure the area is clean and free of debris․ Align the wallplate with the mounting holes, making sure it is level and properly positioned․ Secure the wallplate to the wall using the provided screws․ Tighten firmly but avoid over-tightening, which could damage the plate․ Once installed, reattach the thermostat to the wallplate by aligning the tabs and gently snapping it into place․ Verify that the thermostat is securely fastened and the display is properly oriented․
Installer Setup and Configuration
Enter setup mode by pressing and holding buttons․ Use controls to navigate and configure system settings matching your HVAC equipment for proper operation and safety․
Navigating the Setup Mode
To enter setup mode, press and hold the S and FAN buttons until the display changes․ Use the S and T buttons to navigate through options․ Adjust settings like system type, heat/cool options, and emergency heat․ Changes are saved automatically․ Ensure settings match your HVAC system for proper operation․ Refer to the manual for specific function codes․ This step ensures compatibility and optimal performance․ Proper setup prevents errors and ensures safety․ Always confirm settings before exiting to avoid reconfiguration․
Configuring System Settings
Configure system settings to match your HVAC equipment․ Set Function 12 (System Setting) to Manual or Auto Changeover․ Select the correct system type, such as 2 Heat/1 Cool or Heat Pump․ Adjust heat and cool options, including emergency heat settings․ Use function codes to customize operation․ Ensure settings align with your installed system for proper functionality․ Proper configuration ensures efficient heating and cooling, while incorrect settings may lead to system malfunctions․ Always refer to the manual for specific function codes and guidelines․ This step is crucial for optimal performance and safety․
Programming the Thermostat
Set heat and cool options, including emergency heat settings, using function codes․ Adjust schedules and preferences to optimize comfort and energy efficiency․ Refer to the manual for detailed instructions․ Ensure settings match your HVAC system for proper operation․ Correct programming ensures reliable performance and energy savings․ Follow step-by-step guidelines to configure your thermostat accurately․
Setting Up Heat and Cool Options
Navigate through the setup mode to configure heat and cool options․ Press and hold the s and FAN buttons to enter setup mode․ Use the s and t buttons to adjust settings․ Set the system type to match your HVAC equipment, such as 2 Heat / 1 Cool Heat Pump; Configure emergency heat settings by installing a field jumper between Aux and E if needed․ Ensure the system changeover is set to Manual or Auto․ Refer to the wiring diagrams for proper connections․ Always disconnect power before making changes to avoid electrical shock․ Verify all settings match your system for optimal performance․ Follow the manual for detailed step-by-step instructions to ensure accurate configuration․ Proper setup ensures reliable operation and energy efficiency․ Use Function 1 (System Type) to confirm settings․ Adjust preferences to align with your comfort needs․ Ensure wiring conforms to local codes and manufacturer guidelines․ Check the display for confirmation of settings․ Save changes to complete the setup process․ Regularly review settings to maintain efficiency․ Refer to the manual for troubleshooting common issues․ Ensure all safety precautions are followed during configuration․ Use Function 12 (System Setting) to finalize configurations․ Verify the system operates correctly after setup․ Adjust as needed for optimal performance․ Ensure all wiring connections are secure and correct․ Follow the manual’s guidelines for a successful configuration․ Proper setup ensures reliable operation and energy efficiency․ Refer to the manual for additional guidance if needed․
Configuring Emergency Heat Settings
To configure emergency heat settings, navigate to the setup mode by pressing and holding the s and FAN buttons․ Use the s and t buttons to select Function 1 (System Type) and set it to match your HVAC equipment․ For heat pumps, set the system type to 3Heat/2Cool․ If no emergency heat relay is present, install a field jumper between the Aux and E terminals․ Ensure Function 12 (System Setting) is set to Manual or Auto․ Verify the display shows the correct settings․ Always disconnect power before making wiring changes to prevent electrical shock․ Follow the manual for detailed instructions on configuring emergency heat options․ Proper setup ensures reliable operation during extreme temperatures․ Refer to the wiring diagrams for accurate connections and adhere to local building codes․ Regularly test emergency heat functionality to ensure it works correctly․ Adjust settings as needed to optimize performance and energy efficiency․ Ensure all wiring connections are secure to avoid malfunctions․ Follow safety guidelines when handling electrical components․ Consult the manual for troubleshooting common issues related to emergency heat configuration․ Proper configuration ensures your system operates efficiently and safely․
Troubleshooting Common Issues
Identify and resolve issues like wiring problems or display malfunctions․ Check power supply and connections․ Refer to the manual for detailed solutions․ Contact support if issues persist․
Identifying and Resolving Wiring Issues
Check for loose connections or incorrect wire placements․ Verify compatibility with your HVAC system․ Consult the wiring diagram in the manual for proper connections․ If issues persist, ensure the thermostat is configured correctly․ Disconnect power before making any adjustments to avoid electrical shock․ Use 18- to 22-gauge wire for connections․ Shielded cables are not recommended; Refer to the manual for specific wiring instructions tailored to your system type․ If problems remain unresolved, contact a qualified technician or Honeywell support for assistance․
Addressing Display and Functionality Problems
If the display is blank or unresponsive, ensure the thermostat is properly powered․ Check for loose wiring connections and verify system configuration matches your HVAC setup․ Enter setup mode by pressing and holding the s and FAN buttons to access diagnostic tools․ If functionality issues persist, reset the thermostat by removing batteries or disconnecting power temporarily․ Ensure the system type in Installer Setup matches your equipment․ If problems continue, perform a factory reset and reconfigure settings to restore proper operation․
Maintenance and Upkeep
Regularly clean the thermostat to ensure accurate temperature sensing․ Replace batteries as needed to maintain functionality․ Check wiring connections to prevent issues and ensure optimal performance․
Cleaning the Thermostat
Regular cleaning ensures accurate temperature sensing and optimal performance․ Use a soft, dry cloth to wipe the thermostat’s display and surface․ Avoid harsh chemicals or liquids, as they may damage the device․ For deeper cleaning, disconnect the power supply and gently remove the wallplate․ Clean any dust or debris from the wiring terminals using compressed air or a soft brush․ Reassemble the thermostat carefully to maintain proper functionality․ Regular maintenance helps extend the lifespan of your Honeywell TH5220D1003 thermostat and ensures reliable operation․
Battery Replacement and Management
Replace the Honeywell TH5220D1003 thermostat’s batteries annually or when the display indicates low battery levels․ Use two fresh AA alkaline batteries․ Turn off power to the HVAC system before replacing batteries․ Remove the wallplate to access the battery compartment․ Insert the new batteries following the polarity markings․ Reattach the wallplate securely․ Proper battery management ensures consistent performance and prevents system malfunctions․ Refer to the manual for specific battery type recommendations to maintain optimal functionality and avoid damage to the thermostat․ Regular checks help prevent unexpected interruptions in your heating or cooling system․ Always use high-quality batteries for reliability․ Ensure the compartment is closed tightly to maintain proper connections and avoid corrosion․ If the thermostat has a low-battery warning, replace the batteries promptly to avoid losing programmed settings․ Honeywell recommends testing the thermostat’s operation after battery replacement to confirm everything is working correctly․ This simple maintenance step ensures your thermostat continues to regulate your home’s temperature efficiently․ For additional guidance, consult the Honeywell TH5220D1003 installation manual or contact customer support for assistance․ Regular battery checks are essential for maintaining the thermostat’s accuracy and responsiveness․ If you notice any issues with the display or functionality after replacing the batteries, check the connections and ensure the batteries are installed correctly․ Proper battery management is crucial for the longevity and performance of your Honeywell thermostat․ Always follow the manufacturer’s guidelines for battery replacement to ensure your system operates smoothly․ If you’re unsure about any step, consider consulting a professional to avoid potential damage to the thermostat or HVAC system․ Remember, consistent battery maintenance is key to reliable temperature control in your home․ By following these steps, you can keep your Honeywell TH5220D1003 thermostat functioning at its best․ For further details, refer to the installation manual or visit Honeywell’s official website for support resources․
The Honeywell TH5220D1003 installation manual guides you through a seamless setup process, ensuring your thermostat is properly installed and configured for optimal performance and energy efficiency․
Final Checks and Verification
After completing the installation, ensure all wiring connections are secure and correctly configured․ Verify that the thermostat is properly mounted and the display is functioning accurately․ Check that the system settings match your HVAC equipment, such as heat pump or emergency heat configurations․ Test the thermostat by running through heating and cooling cycles to confirm proper operation․ Finally, review the installation manual to ensure no steps were missed and consult the troubleshooting section if any issues arise during testing․
Resources for Further Assistance
For additional support, visit Honeywell’s official website to access the complete TH5220D1003 installation manual and troubleshooting guides․ Utilize the Honeywell Home resource portal for detailed FAQs, video tutorials, and technical specifications․ Contact Honeywell’s customer support for personalized assistance or consult certified HVAC professionals for complex issues․ Ensure all resources align with your specific model to avoid confusion and maintain system compatibility․


Be the first to reply