Tila bead bracelets are a popular DIY project, combining small, two-holed glass beads in vibrant colors. Perfect for beginners, they are easy to create and customizable.
What Are Tila Beads?
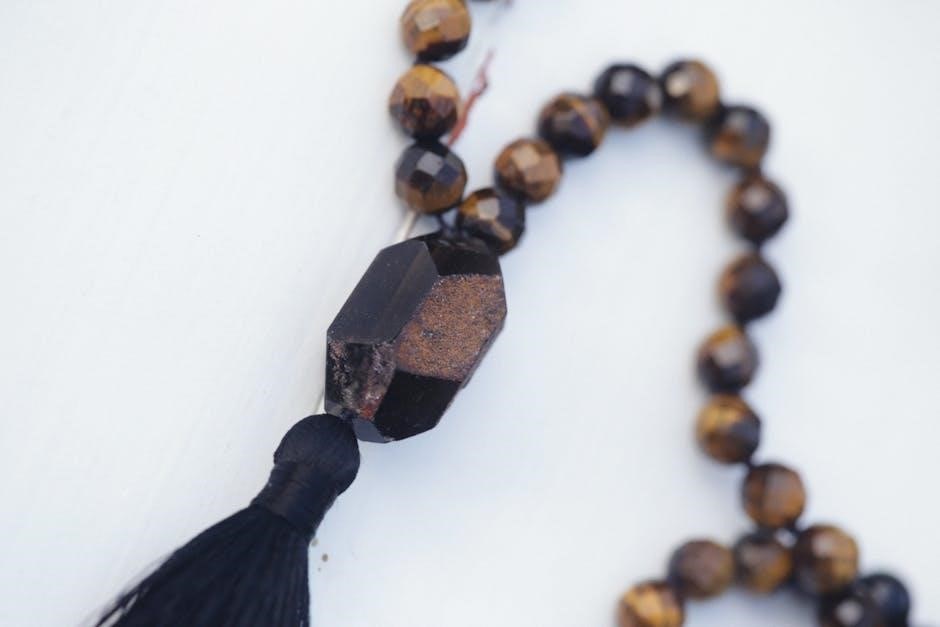
Tila beads are small, double-hole glass beads with a square or rectangular shape. Originating from Miyuki, they are known for their vibrant colors and versatility in jewelry making. Each bead features two holes, allowing for creative stitching patterns. Their flat shape and wide range of hues make them ideal for crafting trendy bracelets and other accessories. Perfect for beginners, Tila beads inspire endless design possibilities.
Why Tila Bead Bracelets Are Popular
Tila bead bracelets are a favorite among jewelry makers due to their simplicity and versatility. They are incredibly easy to craft, making them a great project for beginners. The vibrant colors and modern design of Tila beads allow for endless customization, creating trendy and eye-catching accessories. Perfect for stacking or layering, these bracelets are a stylish and affordable way to express personal style or gift to others.
Materials Needed for a Tila Bead Bracelet
To craft a Tila bead bracelet, gather essential materials like Tila beads, stretch cord, scissors, and a beading needle. These tools ensure a smooth creation process.
Tila Beads: Types and Colors
Tila beads are small, two-hole glass beads available in various shapes, including square and rectangular. They come in a wide range of colors, from solids to metallic finishes, allowing for endless design possibilities. Miyuki Tila beads are particularly popular for their quality and vibrant hues, making them ideal for creating unique and eye-catching bracelets.
Stretch Cord or Elastic Beading Cord
Stretch cord or elastic beading cord is essential for making Tila bead bracelets, as it allows the bracelet to slide on and off easily. A 0.5mm thickness is ideal for durability and ease of use. Using two strands of cord adds stability and prevents stretching. Miyuki Elastic Beading Cord and Stretch Magic Cord are popular choices, offering flexibility and a secure fit for your handmade designs.
Tools: Scissors, Beading Needle, and More
Essential tools for making Tila bead bracelets include sharp scissors for cutting stretch cord and a beading needle for threading beads. Optional tools like clear nail polish or glue can secure knots, while seed beads require a flat surface for precise stitching. These basic tools make the crafting process efficient and enjoyable, ensuring a professional finish for your bracelet.
Tips for Selecting the Right Materials
Choosing the right materials ensures durability and style. Opt for Miyuki Tila beads, known for their vibrant colors and consistent quality. Select stretch cord that’s flexible yet sturdy, like .5mm Stretch Magic Cord, and pair with seed beads for added detail. Match cord thickness to bead holes and consider color coordination for a polished look. Quality materials elevate your bracelet’s appearance and longevity.
Step-by-Step Tutorial for Making a Tila Bead Bracelet
Cut two strands of stretch cord, tie knots, and string Tila beads. Secure with tight knots, adding nail polish for durability. A simple, beginner-friendly project for stylish results.
Preparing the Workspace and Cutting the Cord
Begin by organizing your workspace with beads, cord, and tools. Cut two strands of stretch cord, each approximately 15-18 inches long, ensuring ample length for easy knotting. This setup allows comfortable handling while stringing beads, making the process smoother and more efficient for beginners. Proper preparation ensures a stress-free crafting experience.
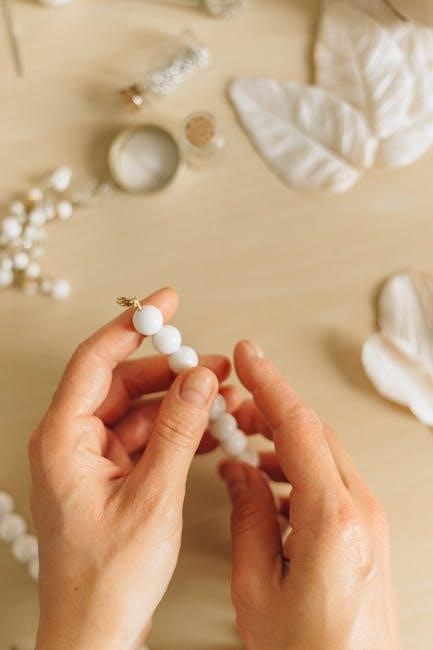
Stringing the Beads: A Beginner-Friendly Approach
Thread both cords through the first bead, leaving a small loop at the end. This loop will help secure the beads. Begin stringing the Tila beads by threading both strands of cord through each bead’s holes. Start from one end and work your way to the desired length. This method is simple and forgiving, making it ideal for beginners to achieve a professional finish.
Securing the Bracelet: Knotting and Finishing Touches
Once the desired length is reached, bring both cord ends together and tie a secure knot. Trim the excess cord carefully. For added durability, apply a small dab of clear nail polish or glue to the knot. This ensures the bracelet stays intact and prevents the beads from coming loose over time, providing a polished finish to your handmade piece.
Tips and Tricks for Crafting Tila Bead Bracelets
Experiment with color combinations and patterns for unique designs. Add seed beads for texture or use nail polish on knots for durability and a polished look.
Color Combinations and Patterns
Miyuki Tila beads, small square glass beads with two holes, come in countless colors, making them perfect for vibrant designs. Experiment with bold contrasts or subtle gradients for eye-catching looks. Pair cool tones like blues and greens for a refreshing style, or warm tones like oranges and reds for a lively vibe. Try alternating colors for striped patterns or use metallic finishes for added sparkle. Keep it simple or go intricate—Tila beads offer endless creative possibilities!
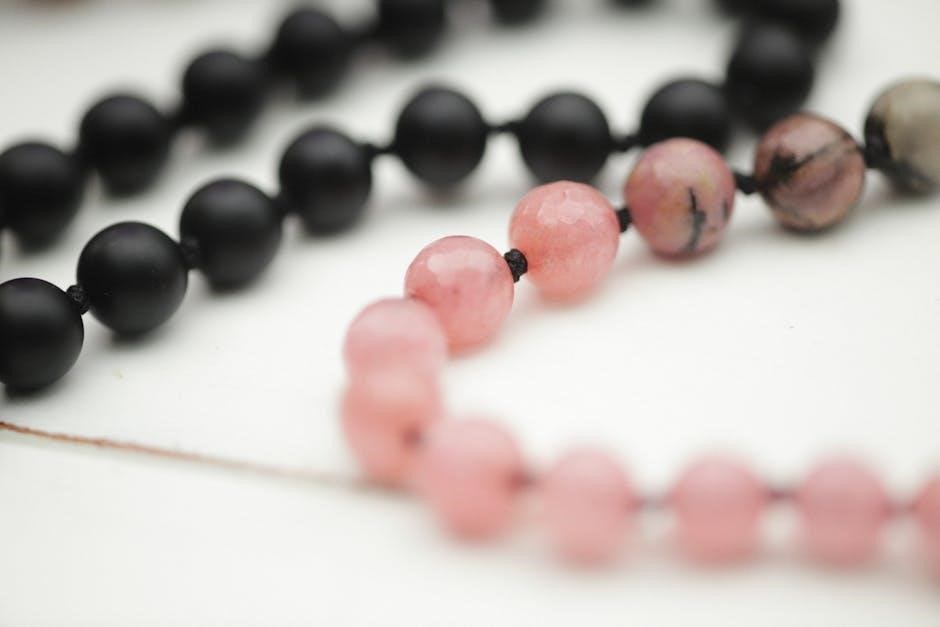
Adding Seed Beads for Extra Detail
Enhance your Tila bead bracelet by incorporating seed beads for added texture and visual interest. Use 11/0 seed beads in complementary colors to create subtle accents. String a few seed beads between Tila beads to add dimension or frame them around the bracelet’s edges. This technique allows for intricate patterns, such as weaving seed beads through the second holes of Tila beads, creating a seamless blend of styles and details. Experiment with different seed bead colors and placements to elevate your design.
Using Nail Polish or Glue for Durable Knots
For long-lasting Tila bead bracelets, apply a small amount of clear nail polish or glue to your knots. This ensures they stay secure and prevents stretching or unraveling. After tying the final knot, gently dab the polish or glue, allowing it to dry completely before handling. This simple step adds durability and extends the life of your handmade bracelet.
Troubleshooting Common Issues
Address common problems like broken knots or stretched cords by reinforcing knots with glue or nail polish and adjusting bracelet length for a perfect fit.
Fixing Broken Knots or Stretched Cord
Fix broken knots or stretched cords by trimming the damaged area and re-tying secure knots. Reinforce with clear nail polish or glue for durability. If the cord is too stretched, replace it entirely. This ensures your bracelet remains sturdy and lasts longer, maintaining its appearance and comfort.
Adjusting the Bracelet Length
Adjust the length by measuring your wrist and adding a small allowance for comfort. Use a stretch cord that allows slight expansion. For precise sizing, string beads to match your desired length, ensuring the bracelet fits snugly without being too tight. This ensures a comfortable, secure fit that complements your personal style.
Care and Maintenance of Tila Bead Bracelets
Gently clean with a soft cloth and avoid harsh chemicals. Store separately to prevent scratching. Keep away from extreme heat or moisture for longevity and durability.
How to Clean and Store the Bracelet
To clean your Tila bead bracelet, gently wipe it with a soft cloth. Avoid harsh chemicals or abrasive materials that might scratch the beads. For storage, keep the bracelet in a cool, dry place away from direct sunlight. Store it separately from other jewelry to prevent tangling or damage. Regularly check the knots and cords for wear, ensuring they remain secure over time.
Avoiding Damage: Do’s and Don’ts
To keep your Tila bead bracelet looking its best, handle it gently and avoid exposing it to harsh chemicals or abrasive materials. Store it separately from other jewelry to prevent scratching. Avoid stacking multiple bracelets roughly, as this can cause stretching or breakage. Clean with a soft cloth and avoid wearing it while swimming or in extreme heat to ensure longevity and maintain its vibrant appearance.
Customizing Your Tila Bead Bracelet
Personalize your Tila bead bracelet by experimenting with vibrant color combinations, adding seed beads, or incorporating unique patterns. Mix and match beads and charms for a bespoke design.
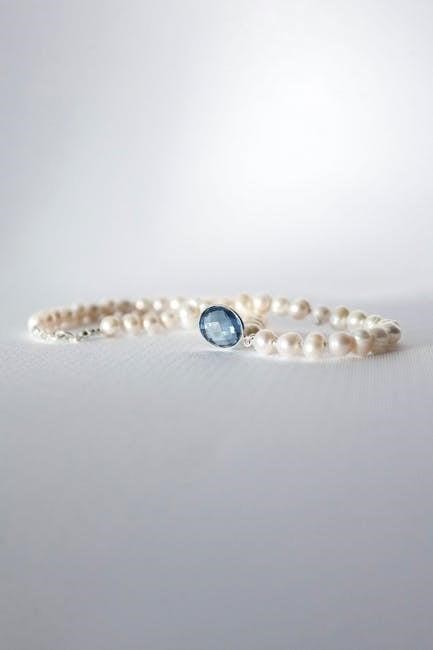
Adding Charms or Other Beads
Enhance your Tila bead bracelet by adding unique charms or beads for a personalized touch. Use seed beads, spacer beads, or decorative pendants to create visual interest. Experiment with mixing materials like glass, metal, or crystal beads to add texture and depth. Secure charms by threading them onto the cord or using jump rings for a polished finish. This adds character and makes your bracelet truly one-of-a-kind.
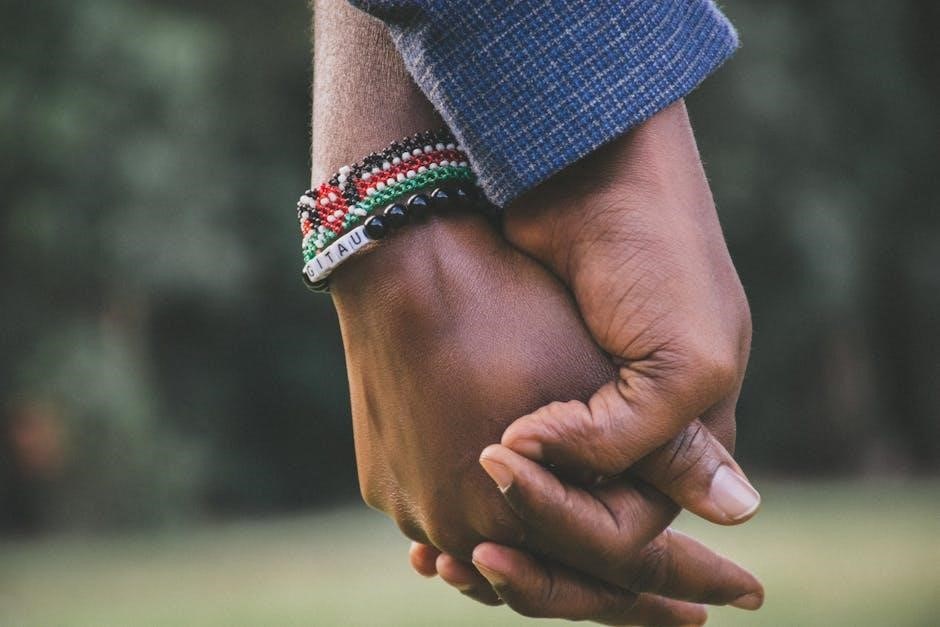
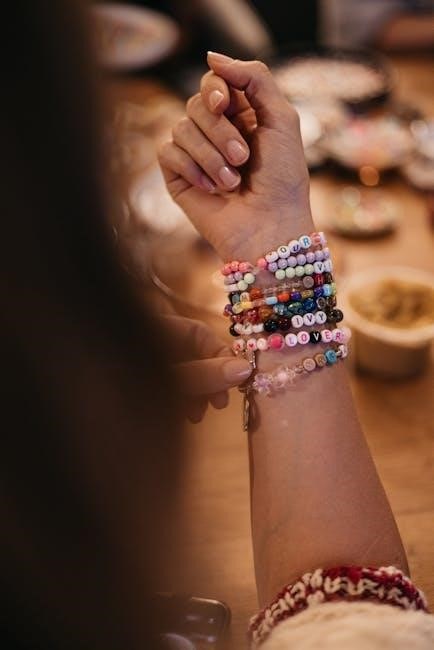
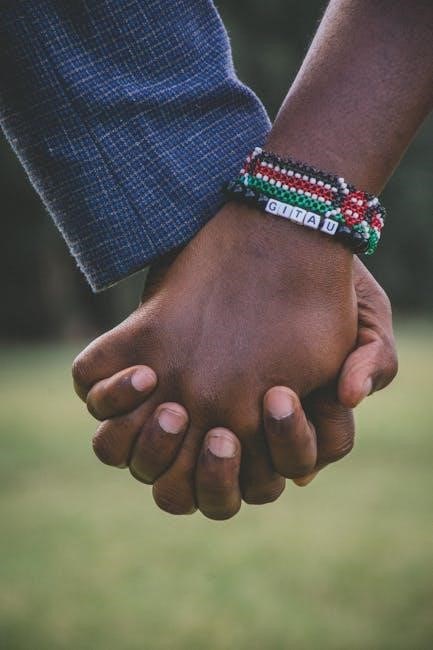
Creating Stackable or Layered Designs
Tila bead bracelets can be transformed into stylish stacked designs by layering multiple thin bracelets. Experiment with varying colors, patterns, and textures to create a unique look. Add seed beads or spacer beads between Tila beads for extra dimension. This technique allows for endless creativity, making each layered design truly personalized and eye-catching, perfect for accessorizing any outfit with a trendy, multi-layered aesthetic.
Tila bead bracelets offer endless creativity and personalization. Experiment with colors, patterns, and designs to craft unique accessories that reflect your style. Enjoy the process!
Encouragement to Experiment and Create
Embrace creativity and explore endless possibilities with Tila beads! Mix colors, patterns, and embellishments to craft unique designs. Whether you’re making a gift or a personal accessory, every bracelet tells a story. Don’t be afraid to try new techniques or adjust designs to suit your style. The joy of crafting lies in experimentation—enjoy the process and watch your ideas come to life!
Exploring Advanced Patterns and Designs
Take your Tila bead bracelets to the next level by experimenting with intricate patterns and designs. Try herringbone or Nexus stitches for a modern look, or incorporate seed beads for added texture. Explore advanced techniques like layered designs or multi-strand bracelets. With endless color combinations and creative stitching methods, you can craft unique, sophisticated pieces that showcase your skill and style.
Be the first to reply